How to Reskin a Unity Game: A Step-by-Step Guide
Are you a game developer or an aspiring entrepreneur looking to launch your own mobile game? Purchasing a Unity game source code can be a smart and efficient way to kickstart your project. However, once you have the source code in hand, you might want to make it unique and appealing to your target audience. This is where the process of reskinning a Unity game comes into play.
What Is Game Reskinning?
Game reskinning is the process of changing a game’s visuals, audio, and sometimes minor gameplay elements—without altering its core mechanics. It's a powerful way to create a new and unique experience from an existing game template. Whether you’re building a brand, testing a new theme, or saving time and budget, reskinning gives you a head start.
✅ How to Reskin a Unity Game (Step-by-Step)
Step 1: Choose the Right Game Source Code
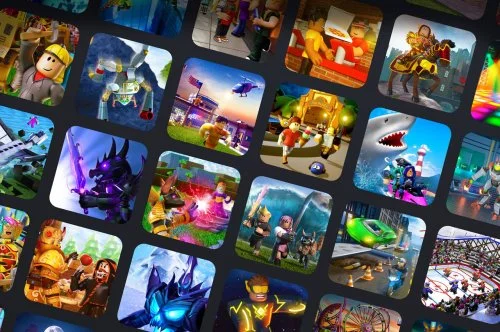
Begin by selecting a Unity game source code that fits your vision. Make sure it aligns with your target genre, gameplay style, and platform (Android, iOS, etc.). You can find great options on marketplaces like CodeCanyon, SellMyApp, and other indie game asset stores.
Step 2: Analyze the Source Code
Before diving into changes, take time to explore the project structure. Understand the scripts, game mechanics, and how assets are used. A solid grasp of the existing setup will save you hours later.
Step 3: Design New Graphics and Assets
Now it's time to give your game a fresh look. Replace characters, backgrounds, icons, and UI elements with your own artwork. Use a consistent art style that reflects your brand or theme. Not a designer? You can hire freelancers or buy ready-made graphics packs.
Step 4: Update Sound and Music
Swap out default sound effects and background music with assets that match your new theme. Great audio helps set the tone and increases user engagement.
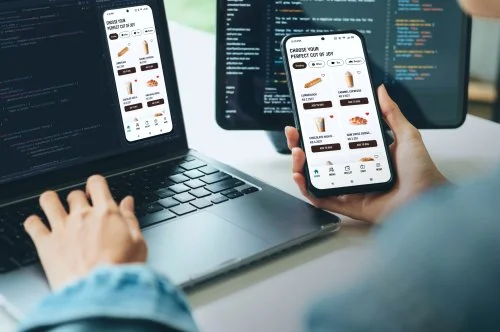
Step 5: Implement the Changes in Unity
Use Unity’s editor to replace old assets with your new ones. Thanks to Unity’s intuitive interface, this process is usually drag-and-drop—no coding needed unless you're customizing game logic.
Step 6: Test Thoroughly
Testing is crucial. Play through all levels, menus, and features to check for bugs or broken links. Fix any glitches before launch.
Step 7: Optimize for Performance
Ensure your game runs smoothly across various devices by reducing file size, optimizing code, and checking memory usage. A laggy game turns users away fast.
Step 8: Add Branding and Monetization
Insert your logo, splash screen, and company name. Decide how you'll monetize—whether with AdMob ads, in-app purchases, or a paid version.
Step 9: Launch and Promote
Once everything’s polished, launch your game on Google Play or the App Store. Use app store optimization (ASO) techniques to improve visibility, and start promoting on social media, websites, or through influencer marketing.
Final Thoughts
Reskinning a Unity game is one of the easiest and most efficient ways to enter the mobile game market. With the right approach, you can launch a fully customized, monetized, and user-friendly game in a matter of days—not months.
Whether you're using it as an MVP to test an idea or aiming for a viral hit, focus on creating a polished experience and you'll maximize your chances of success.